Deployment environments
Deployment environments in dbt Cloud are crucial for deploying dbt jobs in production and using features or integrations that depend on dbt metadata or results. To execute dbt, environments determine the settings used during job runs, including:
- The version of dbt Core that will be used to run your project
- The warehouse connection information (including the target database/schema settings)
- The version of your code to execute
A dbt Cloud project can have multiple deployment environments, providing you the flexibility and customization to tailor the execution of dbt jobs. You can use deployment environments to create and schedule jobs, enable continuous integration, or more based on your specific needs or requirements.
To learn different approaches to managing dbt Cloud environments and recommendations for your organization's unique needs, read dbt Cloud environment best practices.
Learn more about development vs. deployment environments in dbt Cloud Environments.
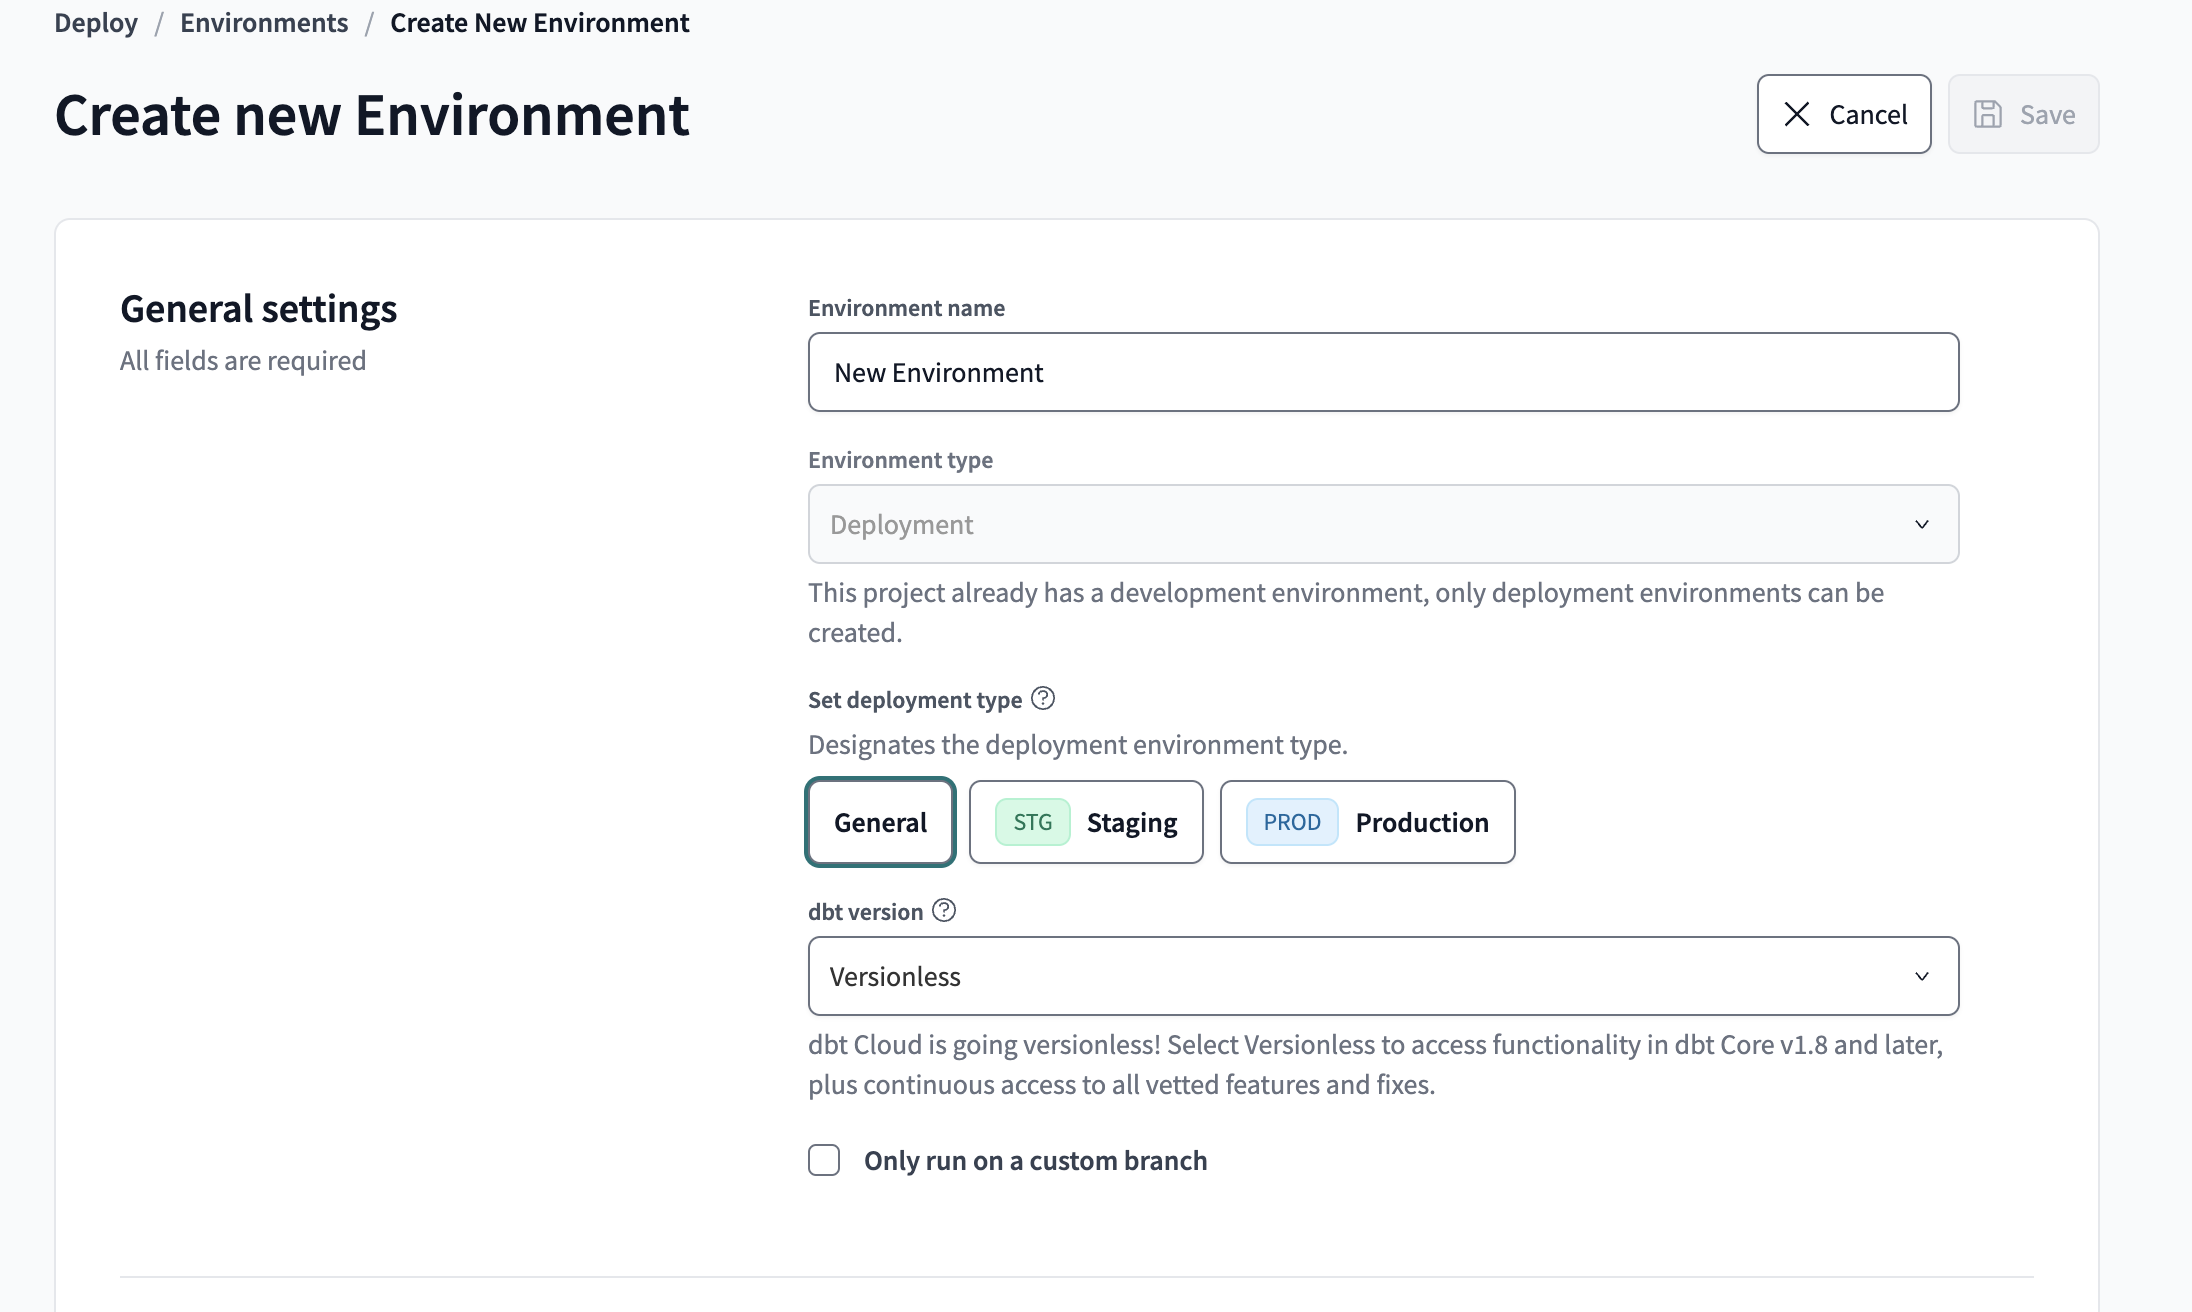
There are three types of deployment environments:
- Production: Environment for transforming data and building pipelines for production use.
- Staging: Environment for working with production tools while limiting access to production data.
- General: General use environment for deployment development.
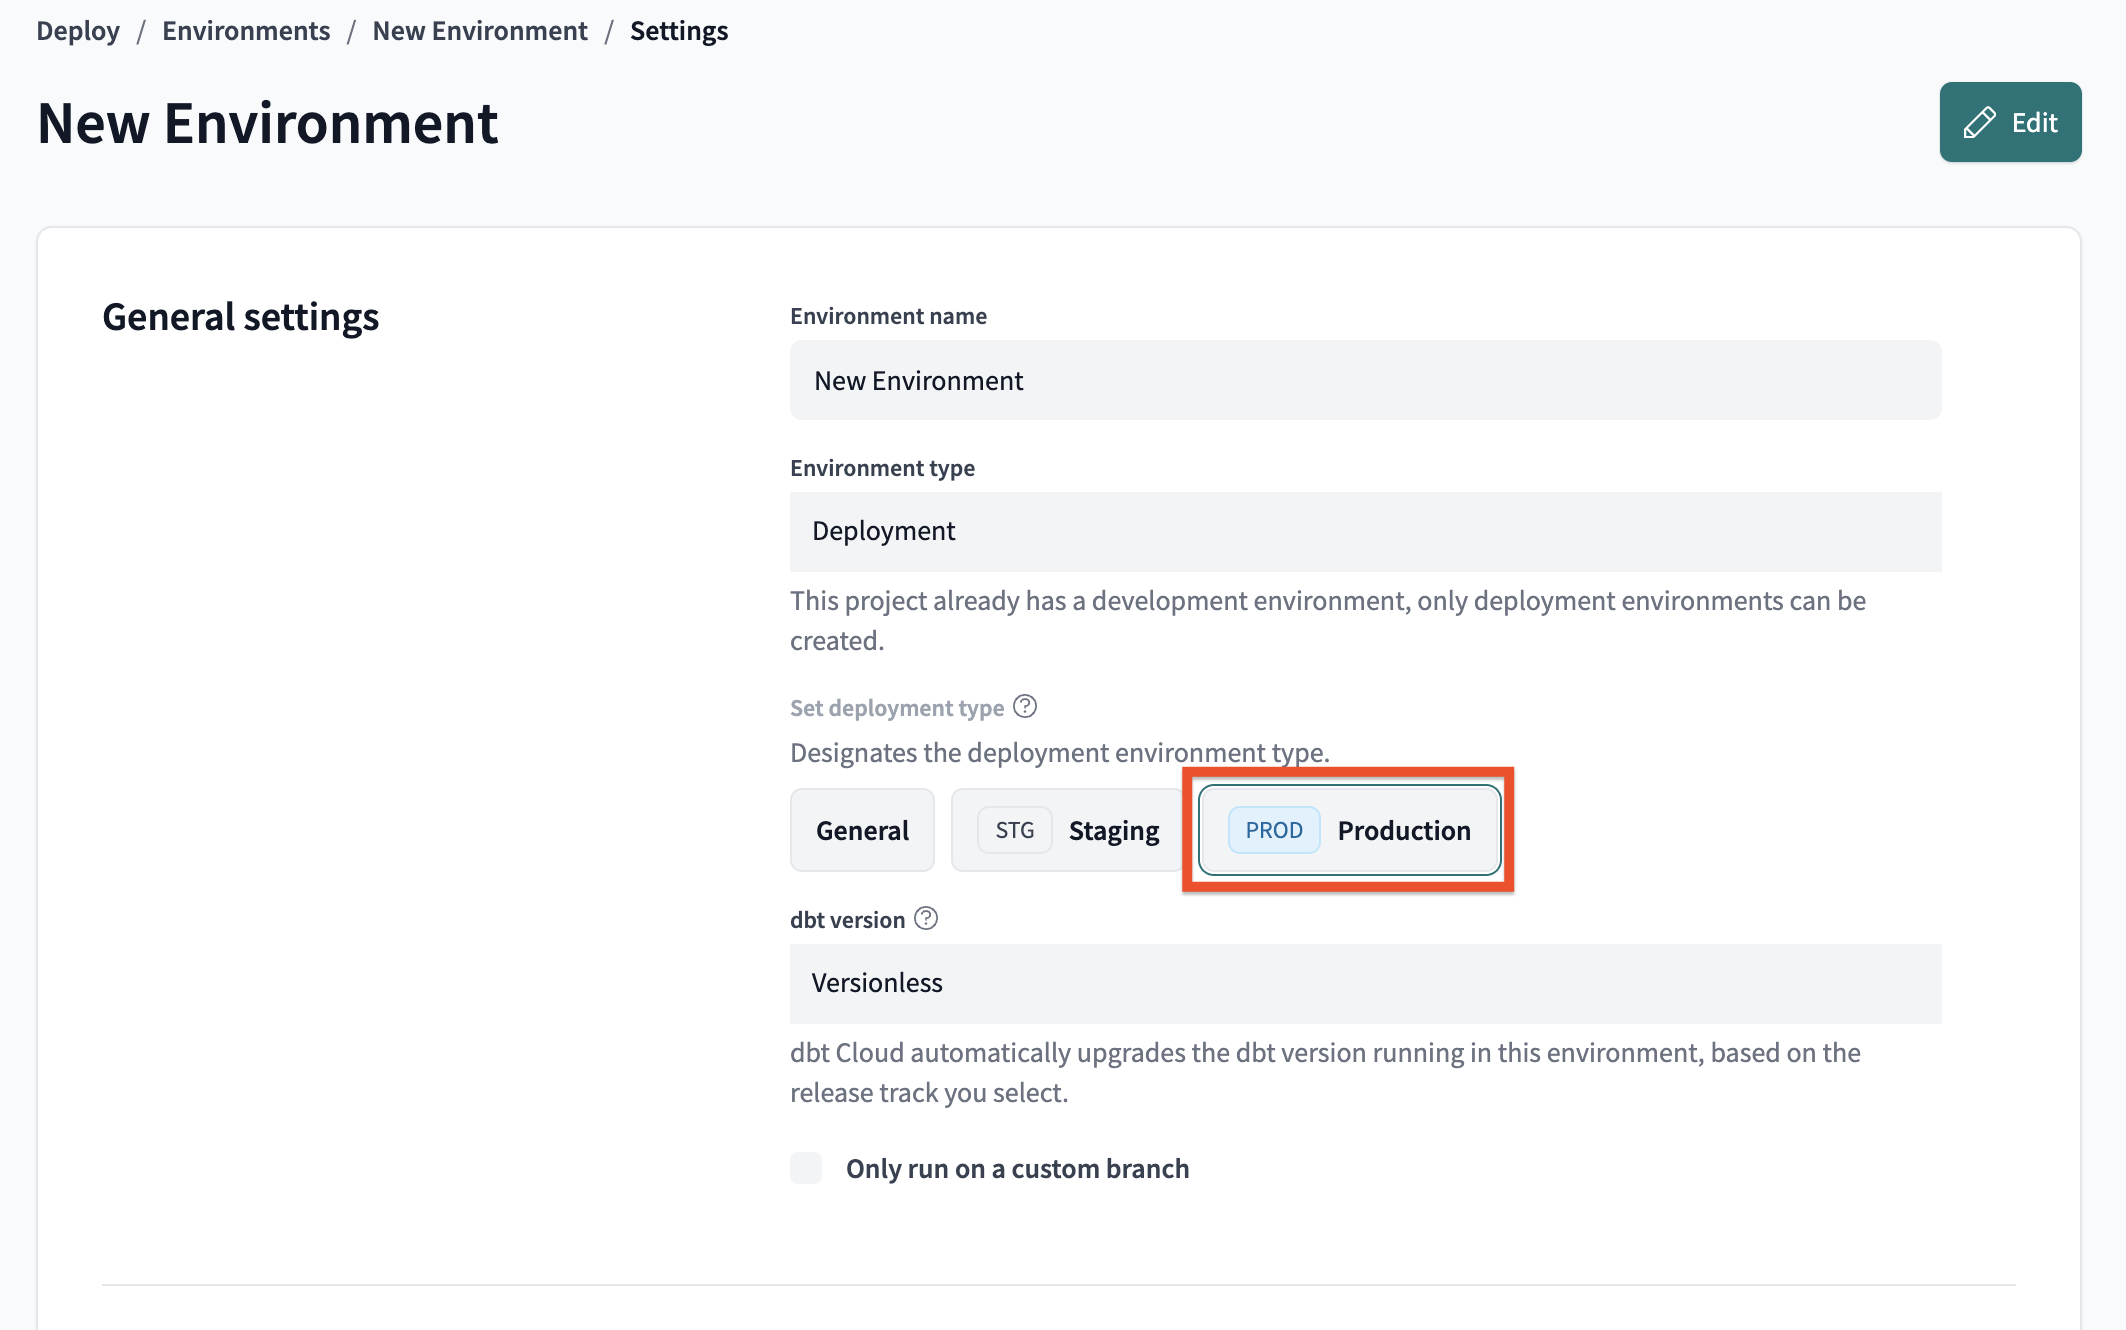
We highly recommend using the Production environment type for the final, source of truth deployment data. There can be only one environment marked for final production workflows and we don't recommend using a General environment for this purpose.
Create a deployment environment
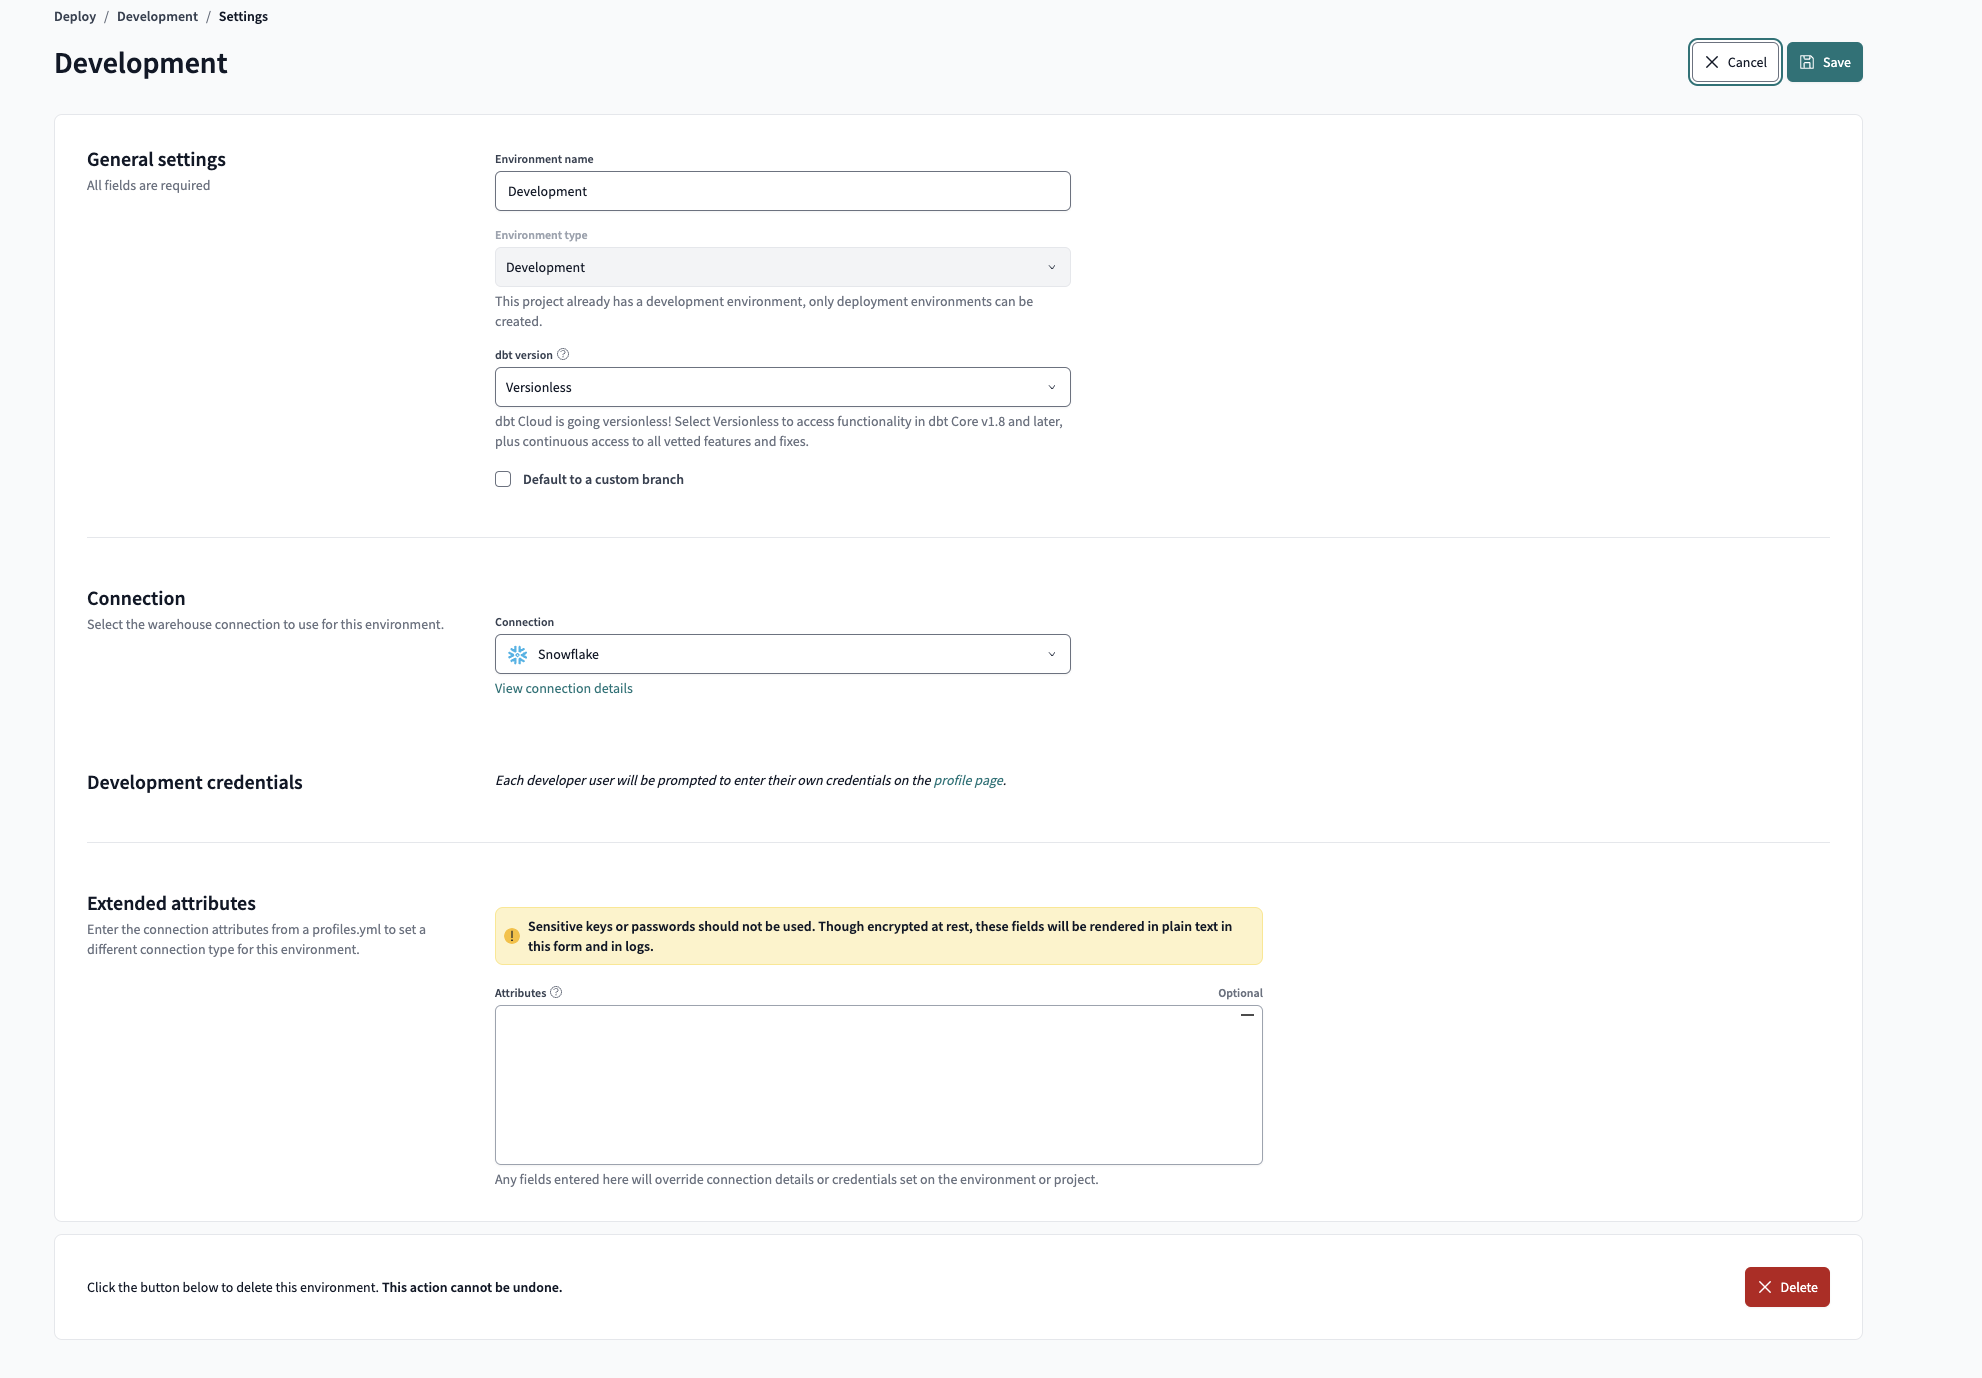
To create a new dbt Cloud deployment environment, navigate to Deploy -> Environments and then click Create Environment. Select Deployment as the environment type. The option will be greyed out if you already have a development environment.
Set as production environment
In dbt Cloud, each project can have one designated deployment environment, which serves as its production environment. This production environment is essential for using features like dbt Explorer and cross-project references. It acts as the source of truth for the project's production state in dbt Cloud.
Semantic Layer
For customers using the dbt Semantic Layer, the next section of environment settings is the Semantic Layer configurations. The Semantic Layer setup guide has the most up-to-date setup instructions.
You can also leverage the dbt Job scheduler to validate your semantic nodes in a CI job to ensure code changes made to dbt models don't break these metrics.
Staging environment
Use a Staging environment to grant developers access to deployment workflows and tools while controlling access to production data. Staging environments enable you to achieve more granular control over permissions, data warehouse connections, and data isolation — within the purview of a single project in dbt Cloud.
Git workflow
You can approach this in a couple of ways, but the most straightforward is configuring Staging with a long-living branch (for example, staging) similar to but separate from the primary branch (for example, main).
In this scenario, the workflows would ideally move upstream from the Development environment -> Staging environment -> Production environment with developer branches feeding into the staging branch, then ultimately merging into main. In many cases, the main and staging branches will be identical after a merge and remain until the next batch of changes from the development branches are ready to be elevated. We recommend setting branch protection rules on staging similar to main.
Some customers prefer to connect Development and Staging to their main branch and then cut release branches on a regular cadence (daily or weekly), which feeds into Production.
Why use a staging environment
These are the primary motivations for using a Staging environment:
- An additional validation layer before changes are deployed into Production. You can deploy, test, and explore your dbt models in Staging.
- Clear isolation between development workflows and production data. It enables developers to work in metadata-powered ways, using features like deferral and cross-project references, without accessing data in production deployments.
- Provide developers with the ability to create, edit, and trigger ad hoc jobs in the Staging environment, while keeping the Production environment locked down using environment-level permissions.
Conditional configuration of sources enables you to point to "prod" or "non-prod" source data, depending on the environment you're running in. For example, this source will point to <DATABASE>.sensitive_source.table_with_pii, where <DATABASE> is dynamically resolved based on an environment variable.
sources:
  - name: sensitive_source
    database: "{{ env_var('SENSITIVE_SOURCE_DATABASE') }}"
    tables:
      - name: table_with_pii
There is exactly one source (sensitive_source), and all downstream dbt models select from it as {{ source('sensitive_source', 'table_with_pii') }}. The code in your project and the shape of the DAG remain consistent across environments. By setting it up in this way, rather than duplicating sources, you get some important benefits.
Cross-project references in dbt Mesh: Let's say you have Project B downstream of Project A with cross-project refs configured in the models. When developers work in the IDE for Project B, cross-project refs will resolve to the Staging environment of Project A, rather than production. You'll get the same results with those refs when jobs are run in the Staging environment. Only the Production environment will reference the Production data, keeping the data and access isolated without needing separate projects.
Faster development enabled by deferral: If Project B also has a Staging deployment, then references to unbuilt upstream models within Project B will resolve to that environment, using deferral, rather than resolving to the models in Production. This saves developers time and warehouse spend, while preserving clear separation of environments.
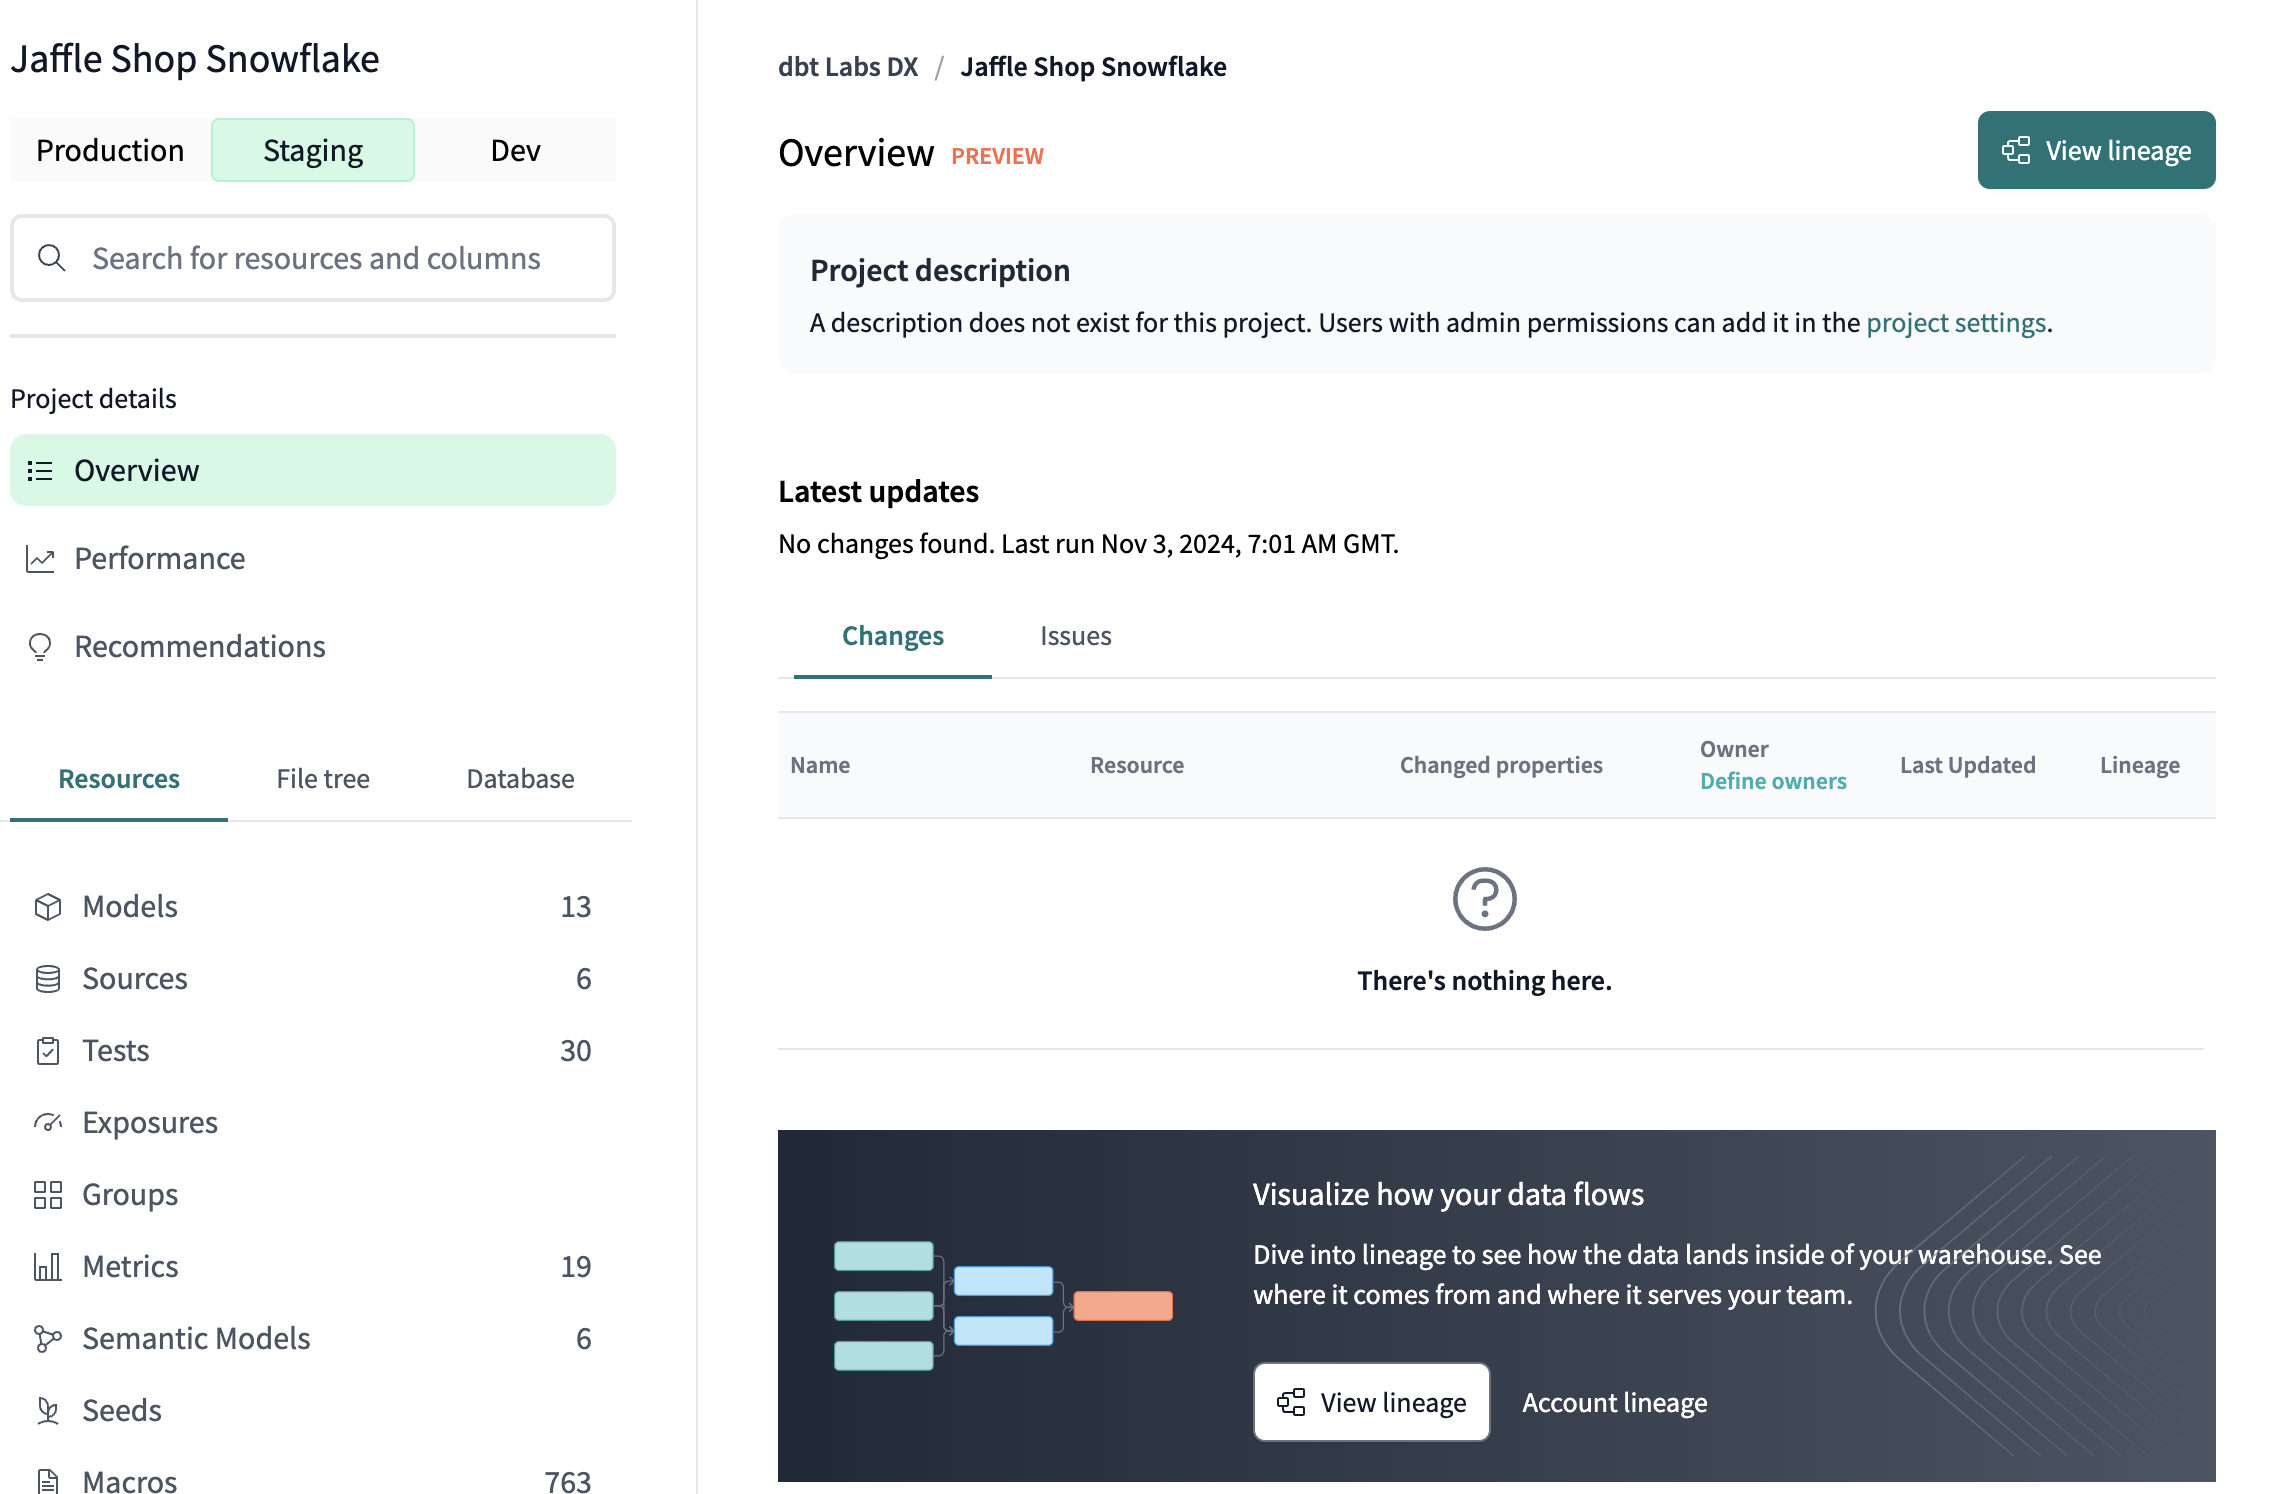
Finally, the Staging environment has its own view in dbt Explorer, giving you a full view of your prod and pre-prod data.
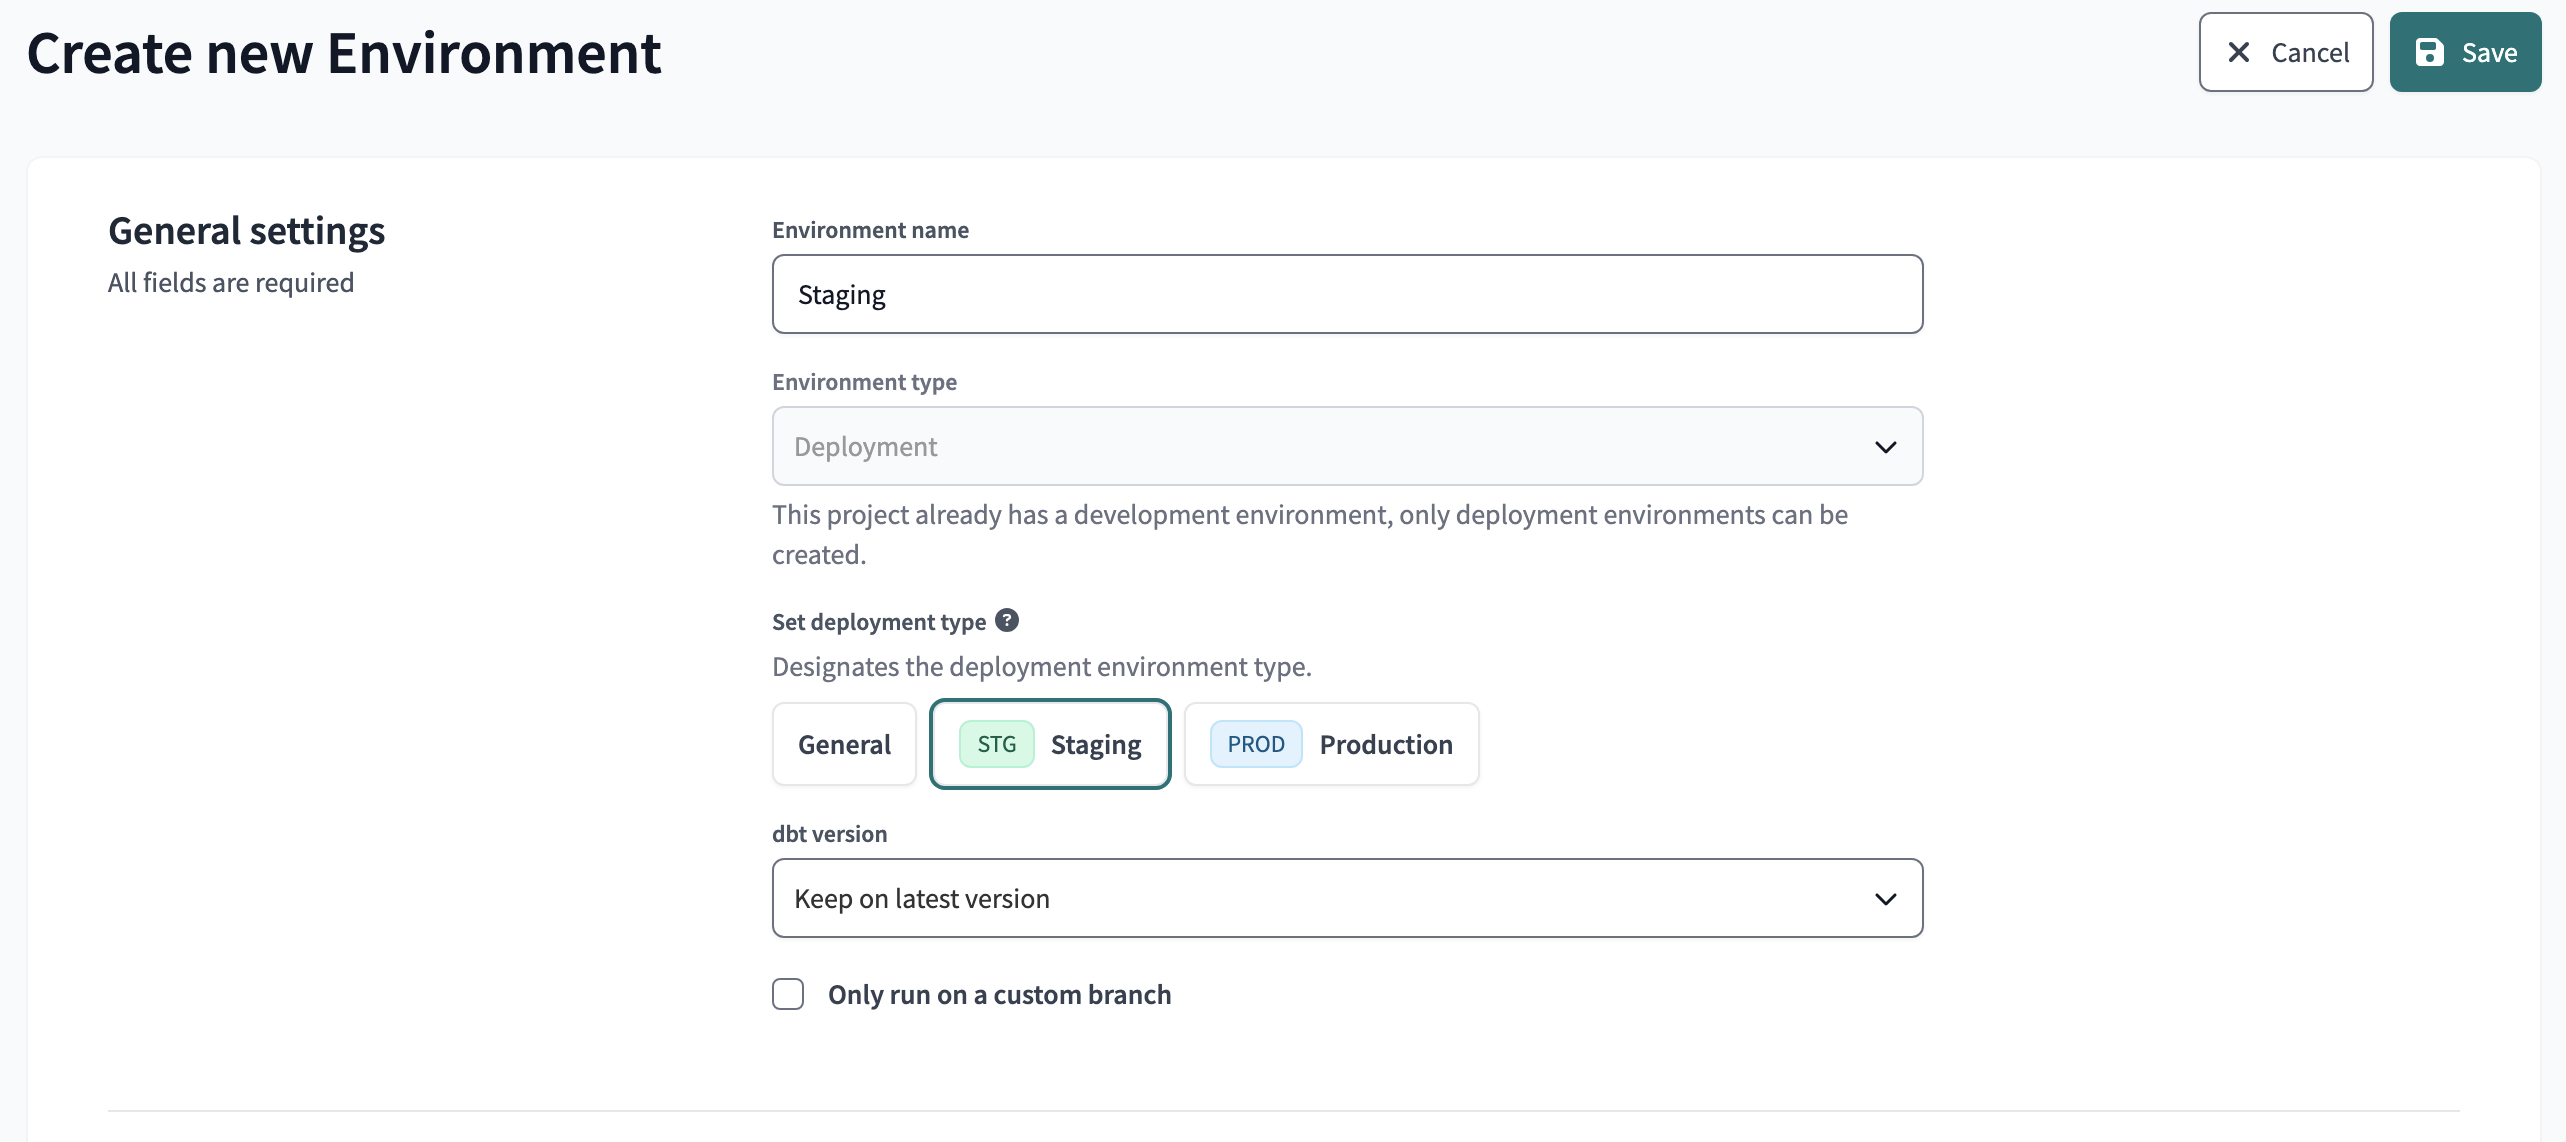
Create a Staging environment
In the dbt Cloud, navigate to Deploy -> Environments and then click Create Environment. Select Deployment as the environment type. The option will be greyed out if you already have a development environment.
Follow the steps outlined in deployment credentials to complete the remainder of the environment setup.
We recommend that the data warehouse credentials be for a dedicated user or service principal.
Deployment connection
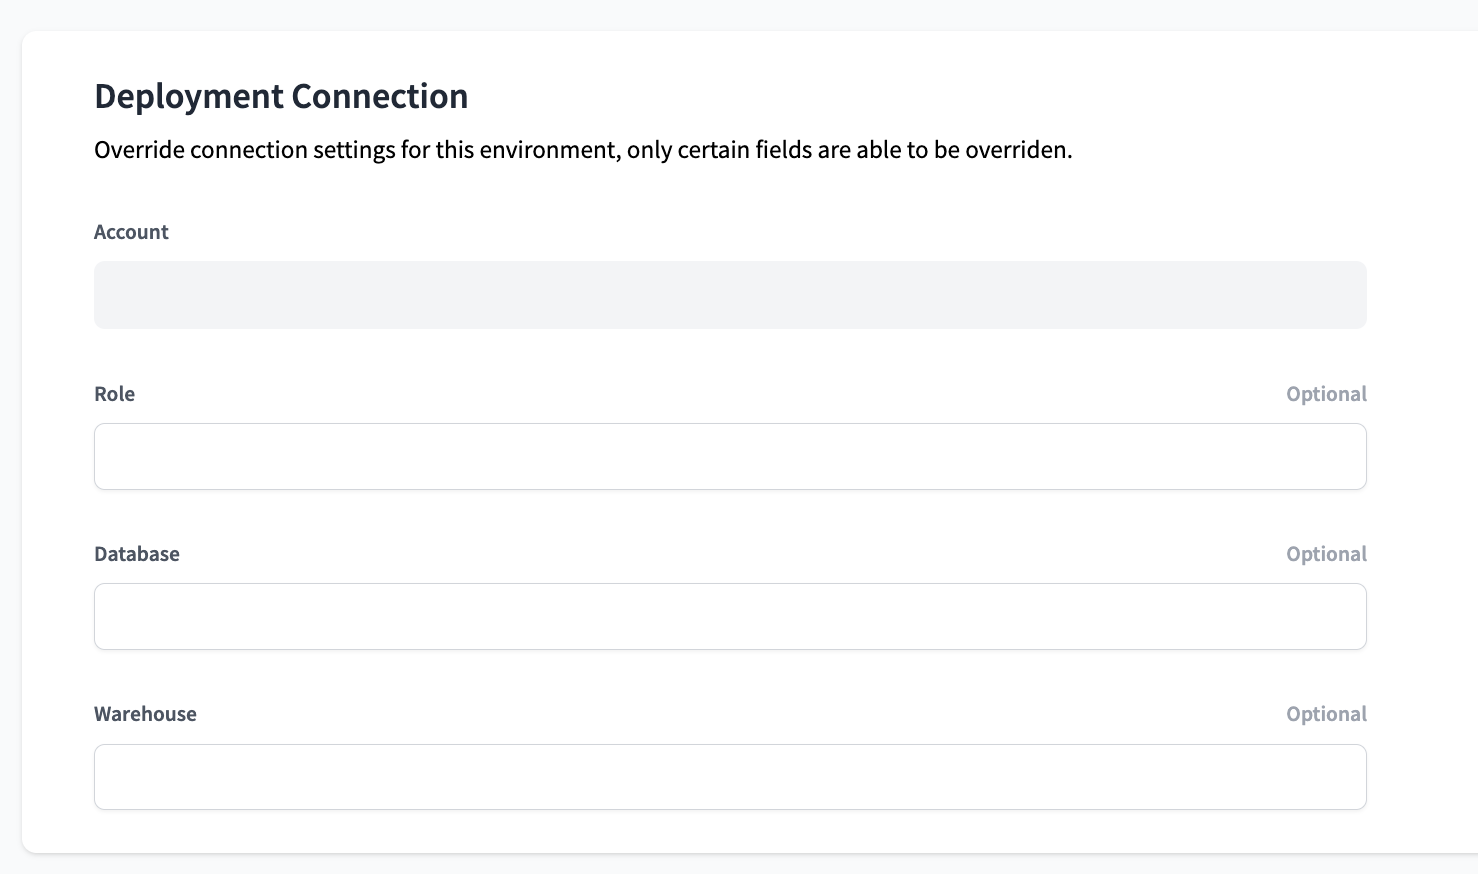
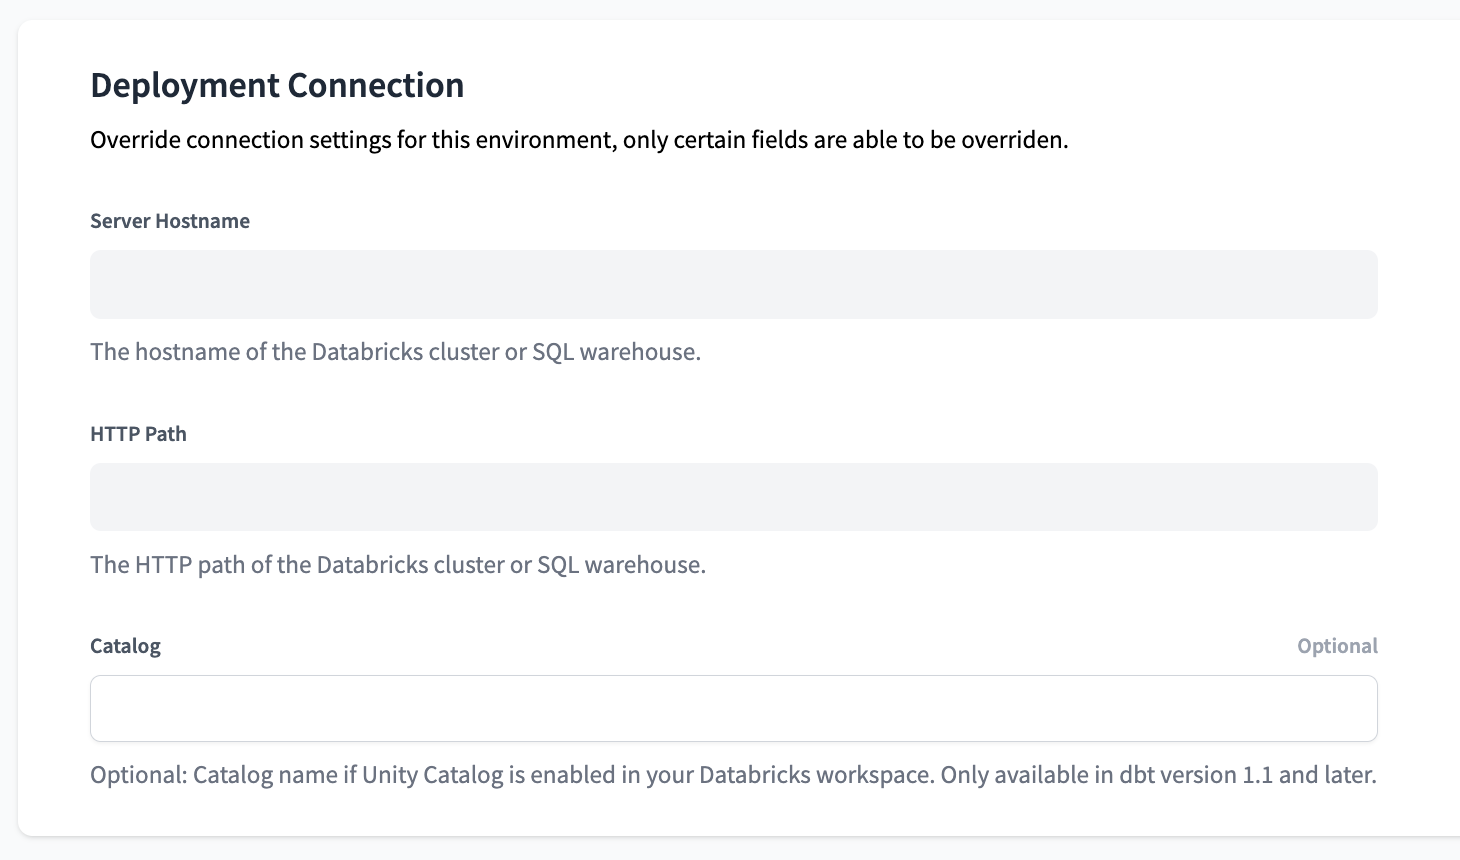
Warehouse connections are set at the Project level for dbt Cloud accounts, and each Project can have one connection (Snowflake account, Redshift host, Bigquery project, Databricks host, etc.). Some details of that connection (databases/schemas/etc.) can be overridden within this section of the dbt Cloud environment settings.
This section determines the exact location in your warehouse dbt should target when building warehouse objects! This section will look a bit different depending on your warehouse provider.
For all warehouses, use extended attributes to override missing or inactive (grayed-out) settings.
- Postgres
- Redshift
- Snowflake
- Bigquery
- Spark
- Databricks
This section will not appear if you are using Postgres, as all values are inferred from the project's connection. Use extended attributes to override these values.
This section will not appear if you are using Redshift, as all values are inferred from the project's connection. Use extended attributes to override these values.
Editable fields
- Role: Snowflake role
- Database: Target database
- Warehouse: Snowflake warehouse
This section will not appear if you are using Bigquery, as all values are inferred from the project's connection. Use extended attributes to override these values.
This section will not appear if you are using Spark, as all values are inferred from the project's connection. Use extended attributes to override these values.
Editable fields
- Catalog (optional): Unity Catalog namespace
Deployment credentials
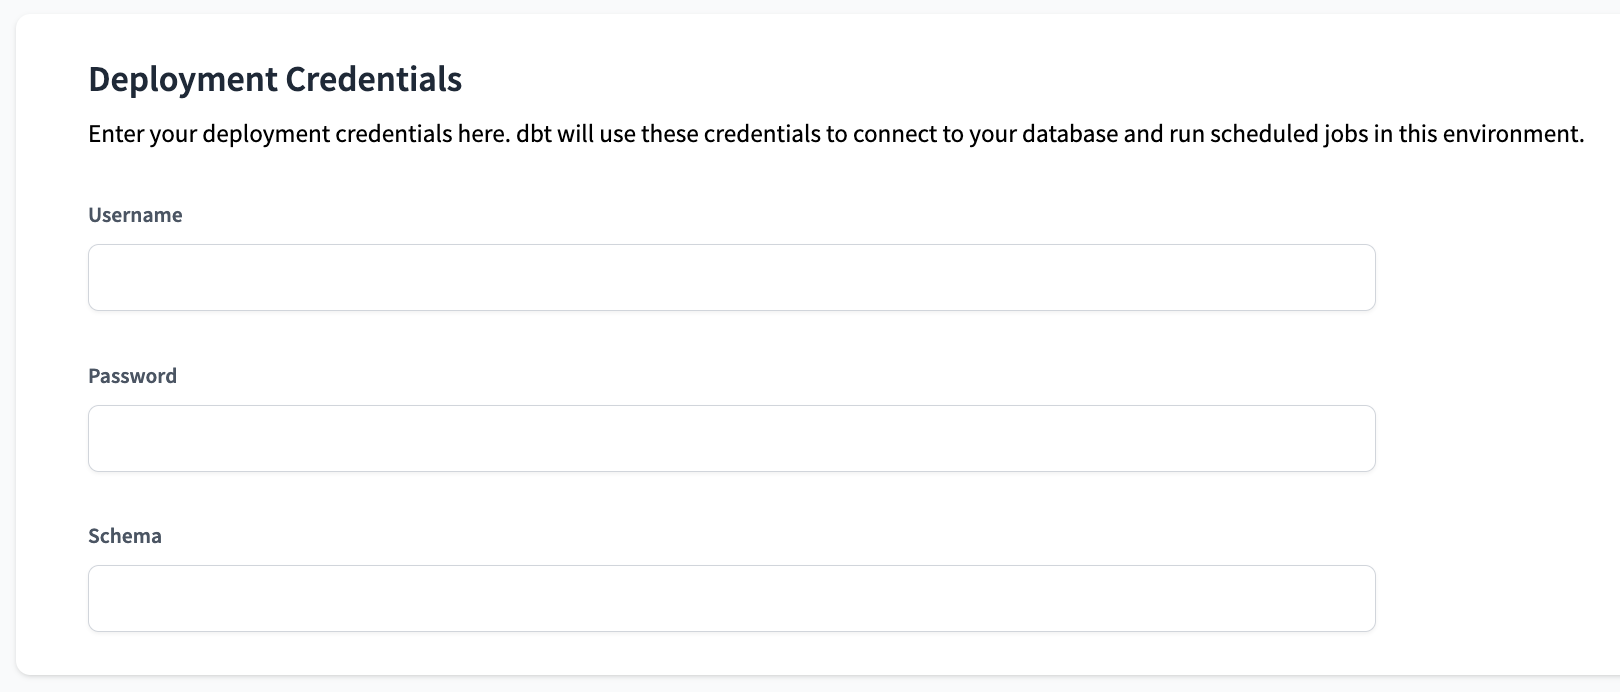
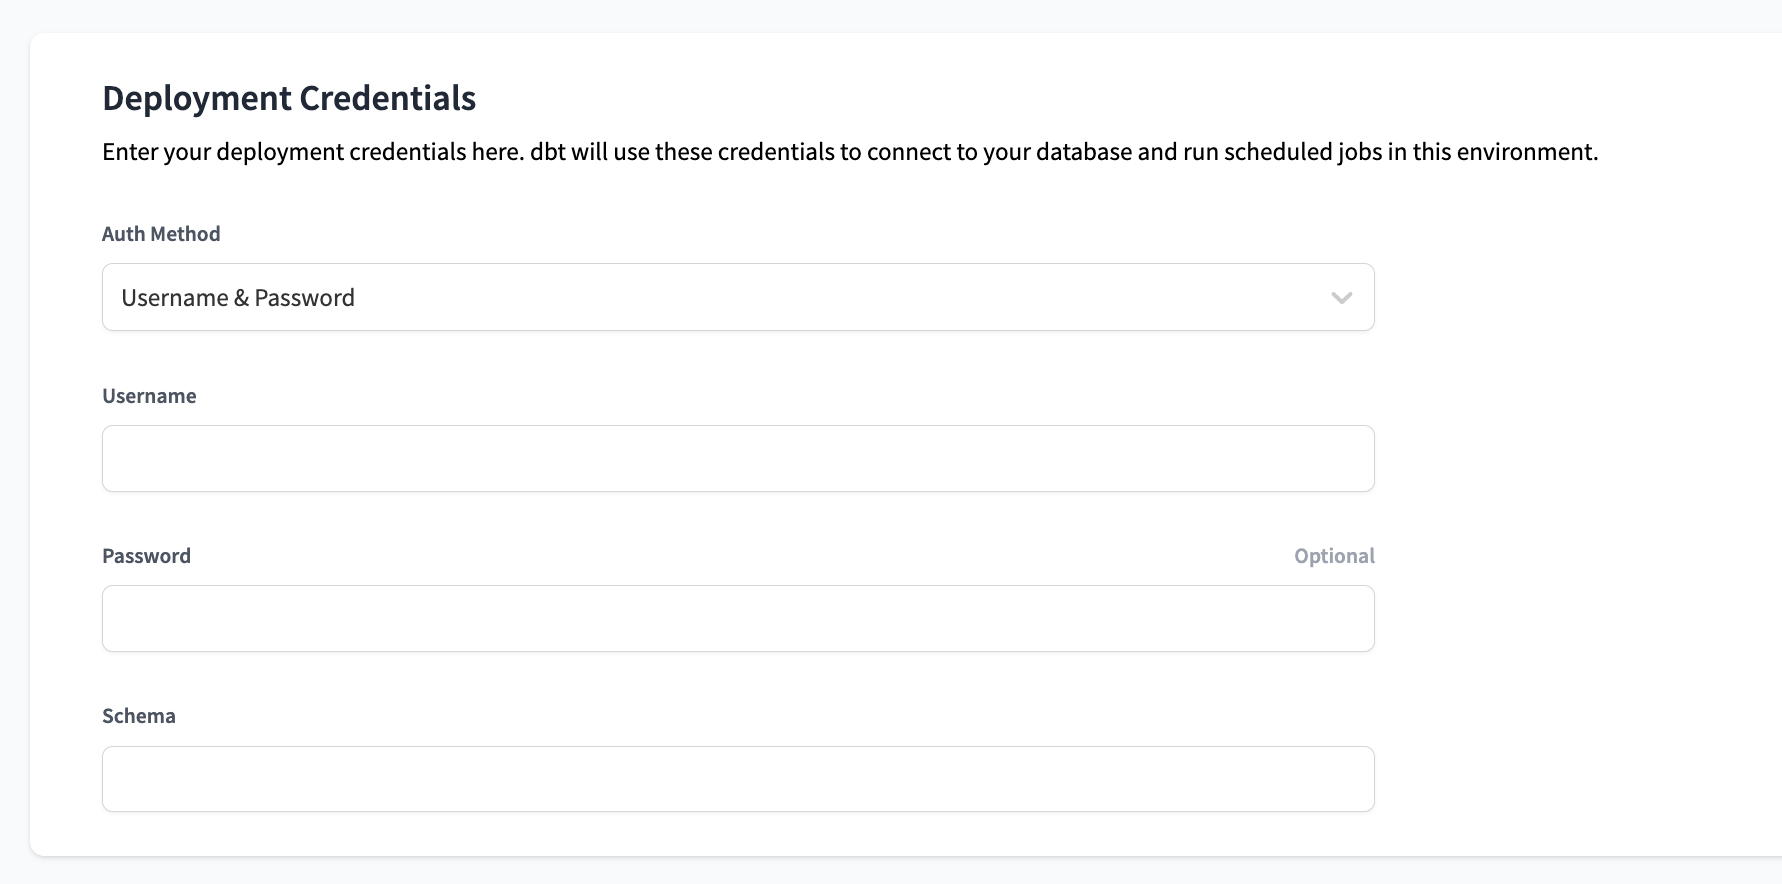
This section allows you to determine the credentials that should be used when connecting to your warehouse. The authentication methods may differ depending on the warehouse and dbt Cloud tier you are on.
For all warehouses, use extended attributes to override missing or inactive (grayed-out) settings. For credentials, we recommend wrapping extended attributes in environment variables (password: '{{ env_var(''DBT_ENV_SECRET_PASSWORD'') }}') to avoid displaying the secret value in the text box and the logs.
- Postgres
- Redshift
- Snowflake
- Bigquery
- Spark
- Databricks
Editable fields
- Username: Postgres username to use (most likely a service account)
- Password: Postgres password for the listed user
- Schema: Target schema
Editable fields
- Username: Redshift username to use (most likely a service account)
- Password: Redshift password for the listed user
- Schema: Target schema
Editable fields
- Auth Method: This determines the way dbt connects to your warehouse
- One of: [Username & Password, Key Pair]
- If Username & Password:
- Username: username to use (most likely a service account)
- Password: password for the listed user
- If Key Pair:
- Username: username to use (most likely a service account)
- Private Key: value of the Private SSH Key (optional)
- Private Key Passphrase: value of the Private SSH Key Passphrase (optional, only if required)
- Schema: Target Schema for this environment
Editable fields
- Dataset: Target dataset
Use extended attributes to override missing or inactive (grayed-out) settings. For credentials, we recommend wrapping extended attributes in environment variables (password: '{{ env_var(''DBT_ENV_SECRET_PASSWORD'') }}') to avoid displaying the secret value in the text box and the logs.
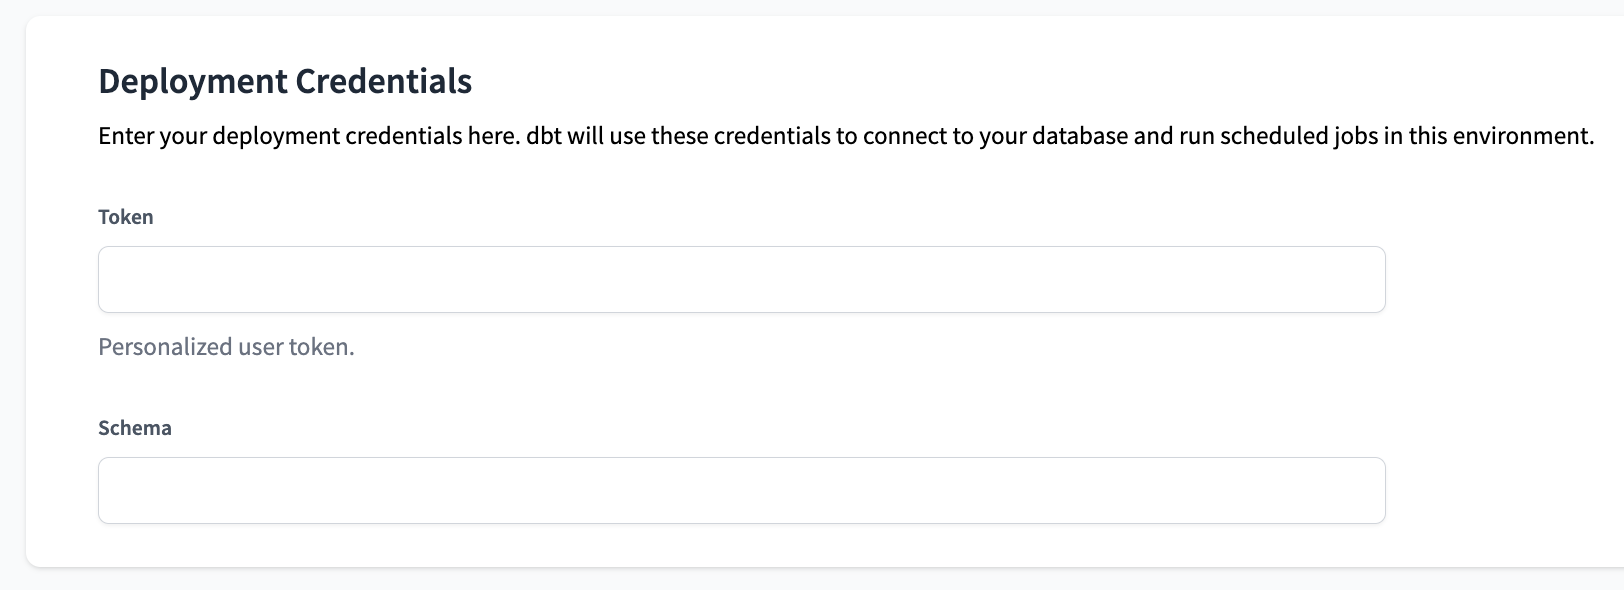
Editable fields
- Token: Access token
- Schema: Target schema
Delete an environment
Deleting an environment automatically deletes its associated job(s). If you want to keep those jobs, move them to a different environment first.
Follow these steps to delete an environment in dbt Cloud:
- Click Deploy on the navigation header and then click Environments
- Select the environment you want to delete.
- Click Settings on the top right of the page and then click Edit.
- Scroll to the bottom of the page and click Delete to delete the environment.
- Confirm your action in the pop-up by clicking Confirm delete in the bottom right to delete the environment immediately. This action cannot be undone. However, you can create a new environment with the same information if the deletion was made in error.
- Refresh your page and the deleted environment should now be gone. To delete multiple environments, you'll need to perform these steps to delete each one.
If you're having any issues, feel free to contact us for additional help.
